- From the PEARS homepage, hover over the gear icon and click Manage Users:

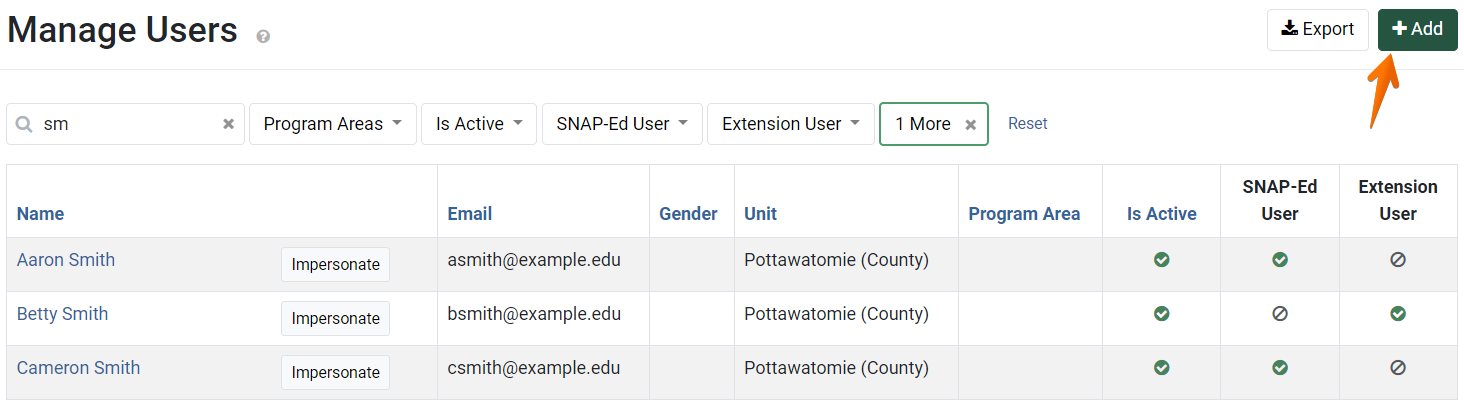
A list of active users displays. Click Add:
The Add User page displays.

- First, enter the new user’s general information:
- Enter the user’s email address, first name, and last name.

- Optionally, select the user’s gender.

- Optionally, select the unit that the user will primarily be working in.

- For Extension users, optionally select the program area that the user will primarily be working in.

- Enter the user’s email address, first name, and last name.
- Next, add permissions for the user, if applicable.
- Optionally, in the Viewable Units field, specify any unit data that the user should have access to view.

- For Extension users, in the Viewable program areas field, optionally specify any program area data that the user should have access to view.

- Optionally, in the Editable users field, give the current user access to PEARS data recorded by other users in your organization. Start typing the name of another user, and add their name from the drop-down list.

- Optionally, in the Viewable Units field, specify any unit data that the user should have access to view.
- Next, add information about the user’s position.
- Optionally, specify the user’s supervisor. Start typing the name of another user, and add their name from the drop-down list.

- Optionally, specify the user’s department.

- Optionally, select the user’s position from the drop-down list.

- Optionally, specify the user’s supervisor. Start typing the name of another user, and add their name from the drop-down list.
- A check mark should appear next to the Active field. The check mark designates the user’s account as active, allowing the user to log in and add data.

- In the Time zone field, make sure the correct time zone is selected. If needed, select a different time zone from the drop-down list.

- For Extension organizations, additional fields appear:
- Check the box next to the SNAP-Ed User field if the user works with SNAP-Ed. This gives the user access to all modules needed to enter SNAP-Ed data.

- Check the box next to the Extension User field if the user works with Extension. This gives the user access to all modules needed to enter Extension data.

- If the user is a member, leader, or consultant on a program area team, select the applicable program area, role, and reporting period. If the user is involved in multiple program area teams, add additional teams by clicking the plus button.

- Check the box next to the SNAP-Ed User field if the user works with SNAP-Ed. This gives the user access to all modules needed to enter SNAP-Ed data.
- Click Save and continue editing to add the user and stay on the current page.

- The user account data is now saved. The account details appear and an alert confirms that a new user has been added.

- Click the Send Welcome Email button to send the new user an email with instructions for logging in to PEARS.

- To return to the users list, click Manage Users in the breadcrumbs at the top of the page.

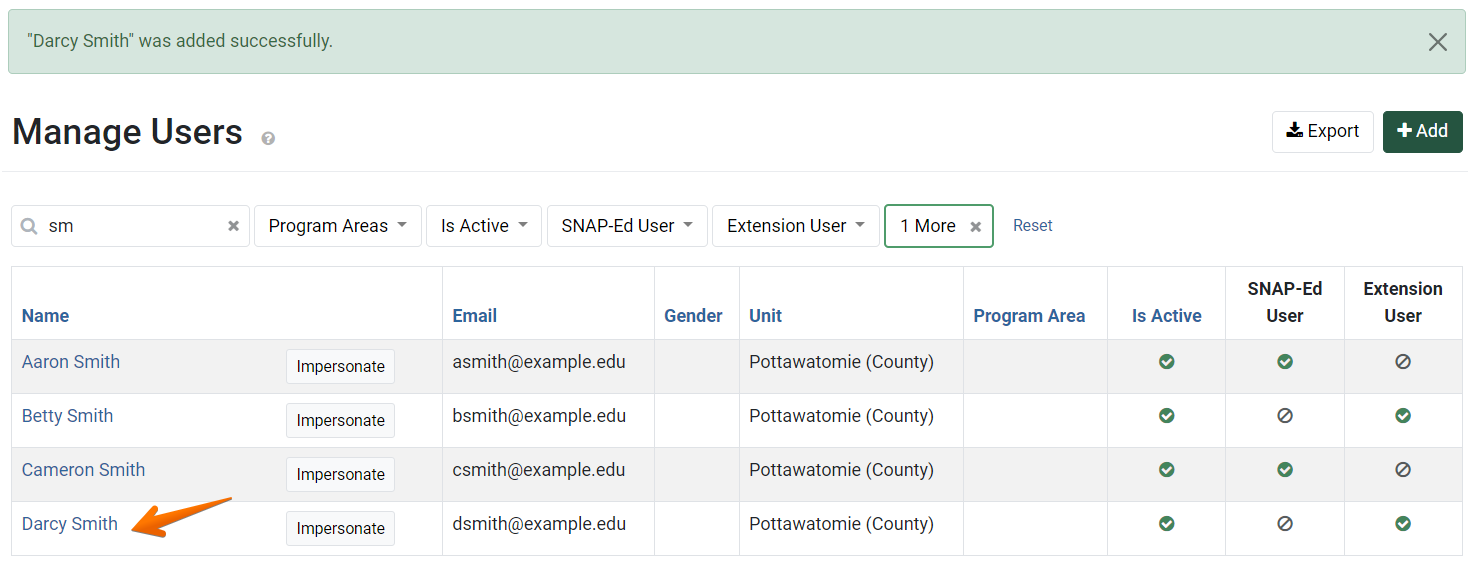
The new user appears in the list:
Add a User Account
by Madalyn

