- From the PEARS homepage, hover over the Track menu and click Success Stories:

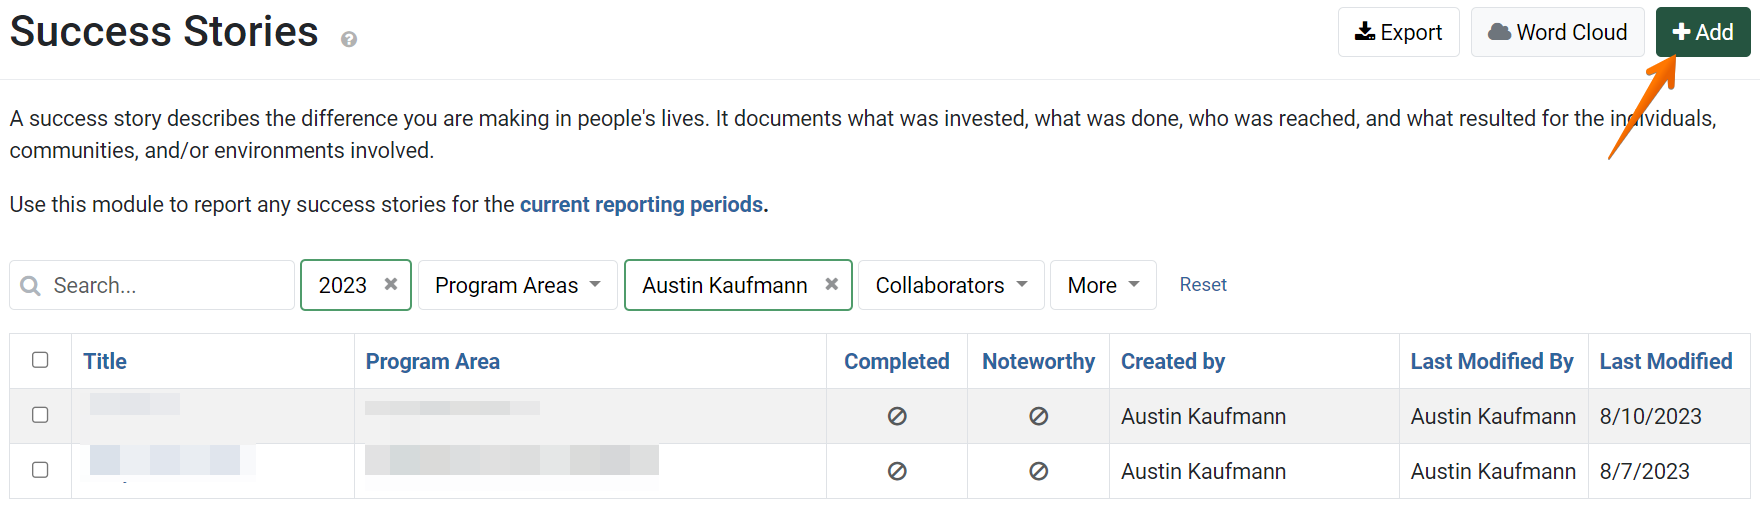
The Success Stories list displays. Click Add:
The General Information page displays.

- First, enter a Title to describe the Success Story.

- If applicable, select the program area associated with the Success Story.
Only one program area may be selected.
- Optionally, select the site or organization associated with the Success Story.

- From the drop-down list, select the Unit in which the Success Story occurred.

- Optionally, select a Program Activity associated with the Success Story.

- If applicable, in the Action Plan field, select an Action Plan associated with the Success Story.

- Optionally, select keywords associated with the Success Story.
To search for keywords, scroll through the drop-down list. Alternatively, start typing to filter the list.
- Optionally, in the Comments field, add any general information not captured in other fields.

In the File Attachments field, upload related files as needed. To upload files, click Select to choose files from the computer’s file explorer. Alternatively, drag and drop files into the gray area.
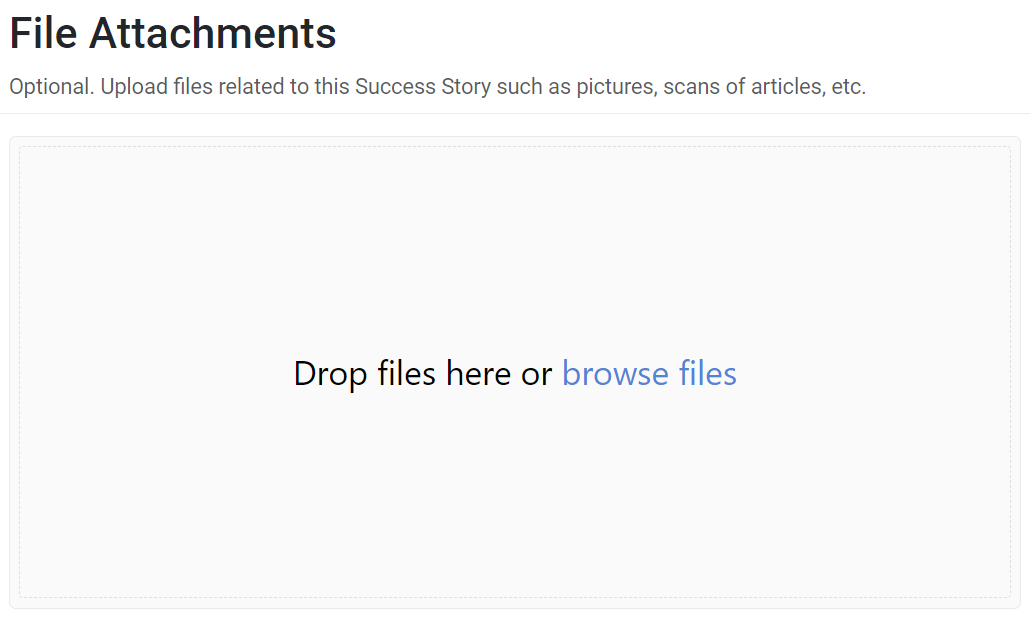
You may upload many different types of files, including: Word documents, PDFs, Excel workbooks, jpg, png, and others.
- Click Save and continue to save the page and move to the next section, or click Save to save the current changes and view the record details.

NOTE:
To remove a selection, click the x to the left of the item's name.
